.jpg)
Deathmetal Logo
In Rob Scallon’s Video with the band Peeling Flesh they talk about how the ‘Slam’ genre comes out of a self aware ‘horror comedy’ approach to death metal. It...
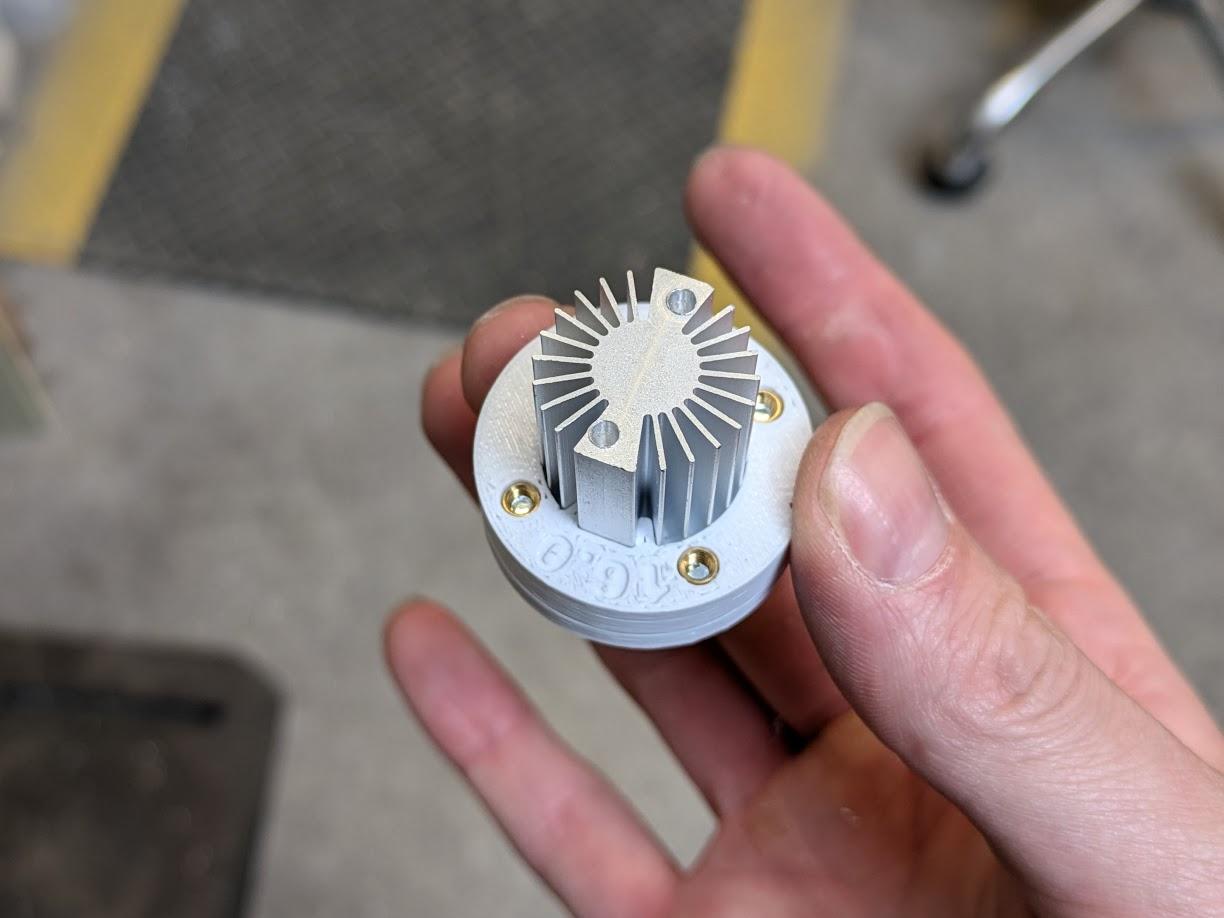
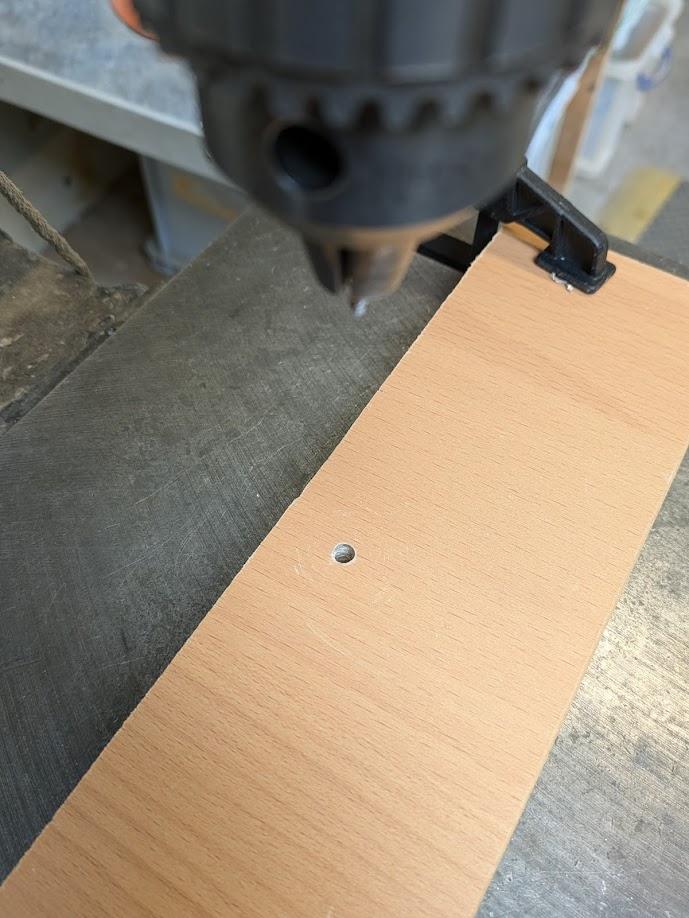
I created some quick 3D printed drilling jigs to add some tiny little 1.5mm holes to a bunch of aluminium heatsinks ready for them to be tapped at M2. The spacing here is critical because the holes I’m drilling are rather close to the edges of the heatsink. This is because it is surprisingly hard to find LED heatsinks with a diameter below 50mm, which I’m now realising is because of the spacing of the ‘standard’ LED Star PCB mounting holes. This same issue is the reason why I had to use M2 holes as opposed to a size which would be less likely to result in a handful of snapped drill bits.
The alignment of the final holes wasn’t perfectly placed in the heatsink, likely an error with a seam in the 3D print or something, but the consistency was great and that is what I was really after, the LED Star Boards mount nicely!
The order of operations is as follows:

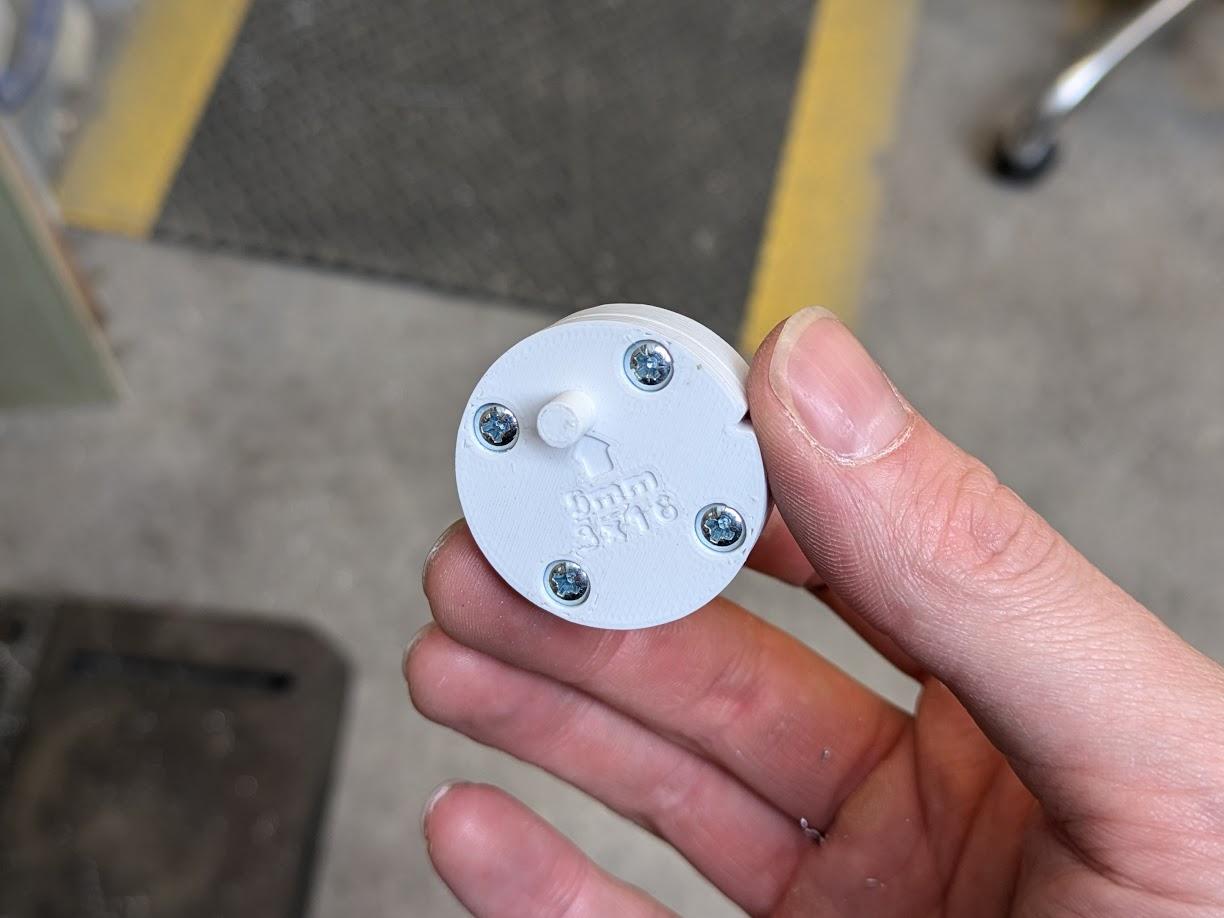
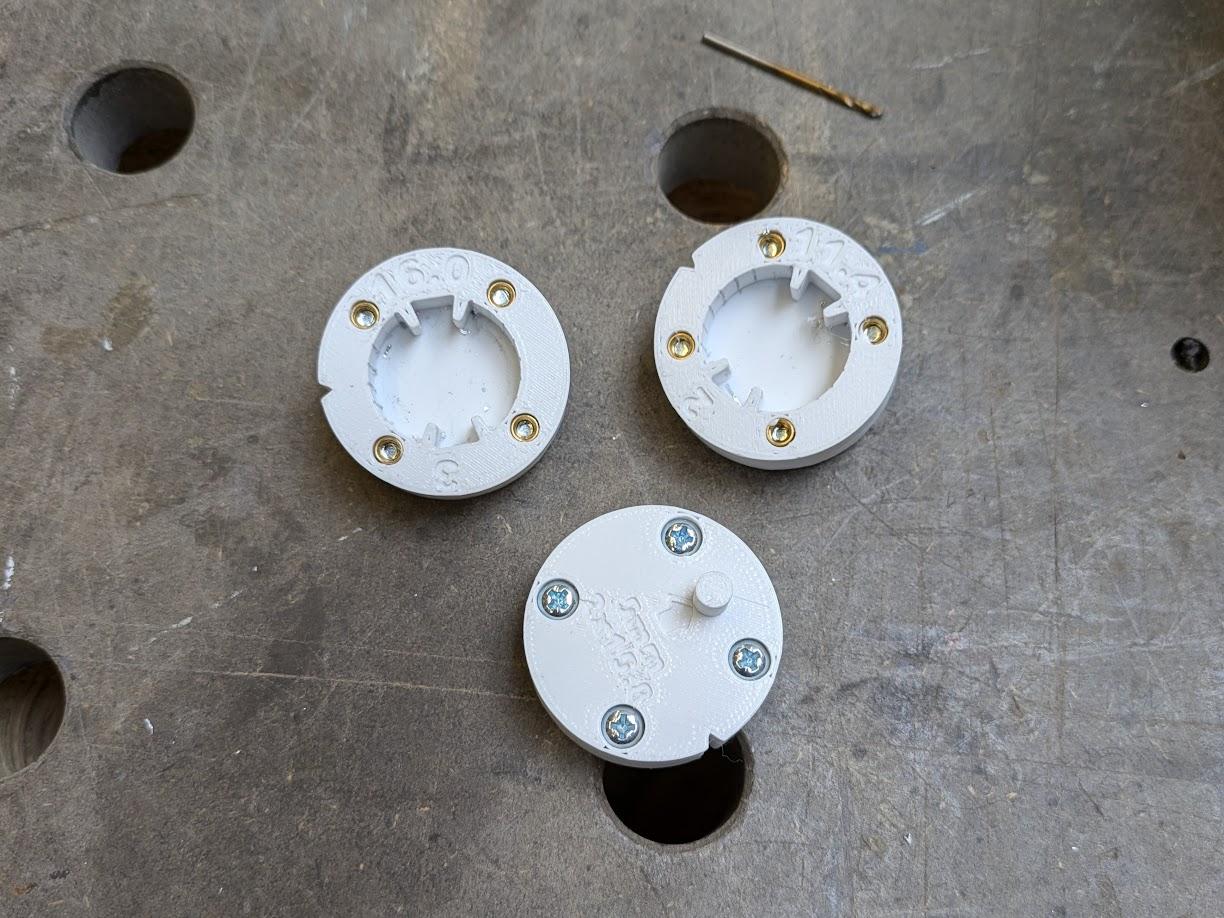
I created three different jigs, each for drilling different hole patterns, each one aligns to the original 5mm hole your drilled to ensure your holes are in the correct place
In Rob Scallon’s Video with the band Peeling Flesh they talk about how the ‘Slam’ genre comes out of a self aware ‘horror comedy’ approach to death metal. It...
A vibe coded Autodesk Fusion / Fusion360 add in which allows you to toggle sketch visibility from a timeline or viewport selection
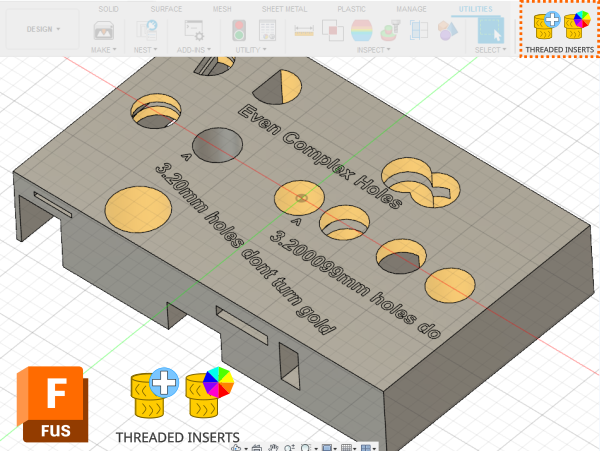
A vibe coded Autodesk Fusion / Fusion360 add-in for managing threaded insert workflows. This tool helps teams identify and mark threaded insert holes using u...
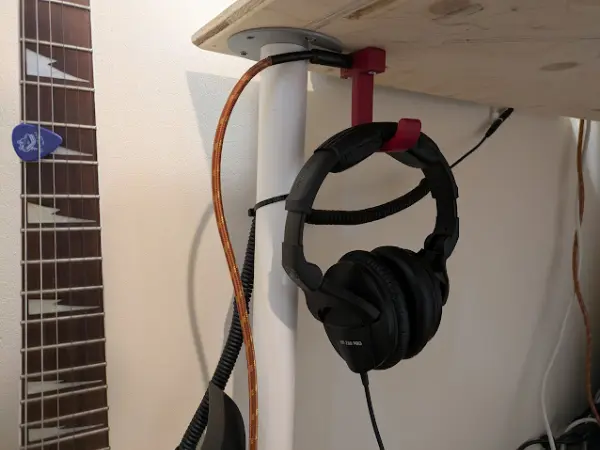
I designed a headphone hook which also provides a place to plug my guitar cable when it isn’t in use.