Deathmetal Logo
In Rob Scallon’s Video with the band Peeling Flesh they talk about how the ‘Slam’ genre comes out of a self aware ‘horror comedy’ approach to death metal. It...
Vacuum seals have got to be tight. Reaching pressures of 5x10⁻⁶ Pa requires a perfect seal at every joint and static ‘face type’ O-Ring seals are great for this. They seal between a groove (which retains the O-Ring) and a flat surface (which compresses the O-ring), this combo squishes the O-Ring to fill the space creating a repeatable and reusable seal.
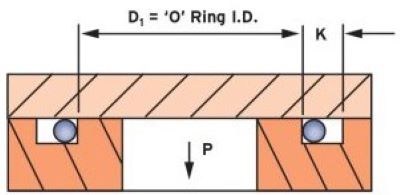
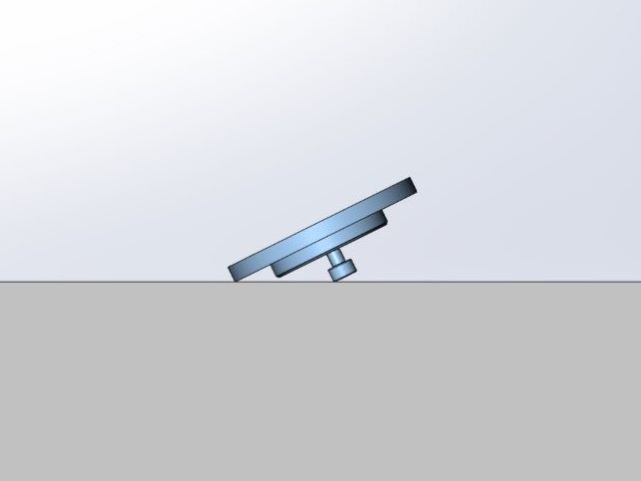
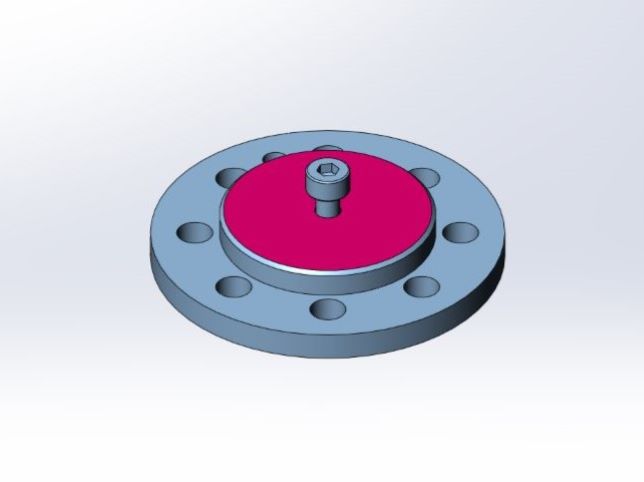
As you can imagine, the surfaces of the O-Ring Groove and Sealing Face need to be smooth, machined to 0.4Ra, with an emphasis on having no radial scratches that could create a leak path under the O-Ring. This surface finish is simple enough to machine but keeping it from getting damaged can be difficult, the natural tendency to place a part on the table face-down is hard to resist and doing so would scratch the surface, so it is good practice to design parts which protect these faces.
These are the two main methods I use:
The simplest method is to recess your sealing face into another surface, that way when the part is placed on the table it doesn’t rest on the sealing face. This also gives machinist a clear boundary for where the tightly controlled 0.4Ra surface is, rather than simply applying it to the whole surface. If you choose this method though, remember that your O-Ring groove will need to be shallower to ensure that you get the same compression on the O-Ring.
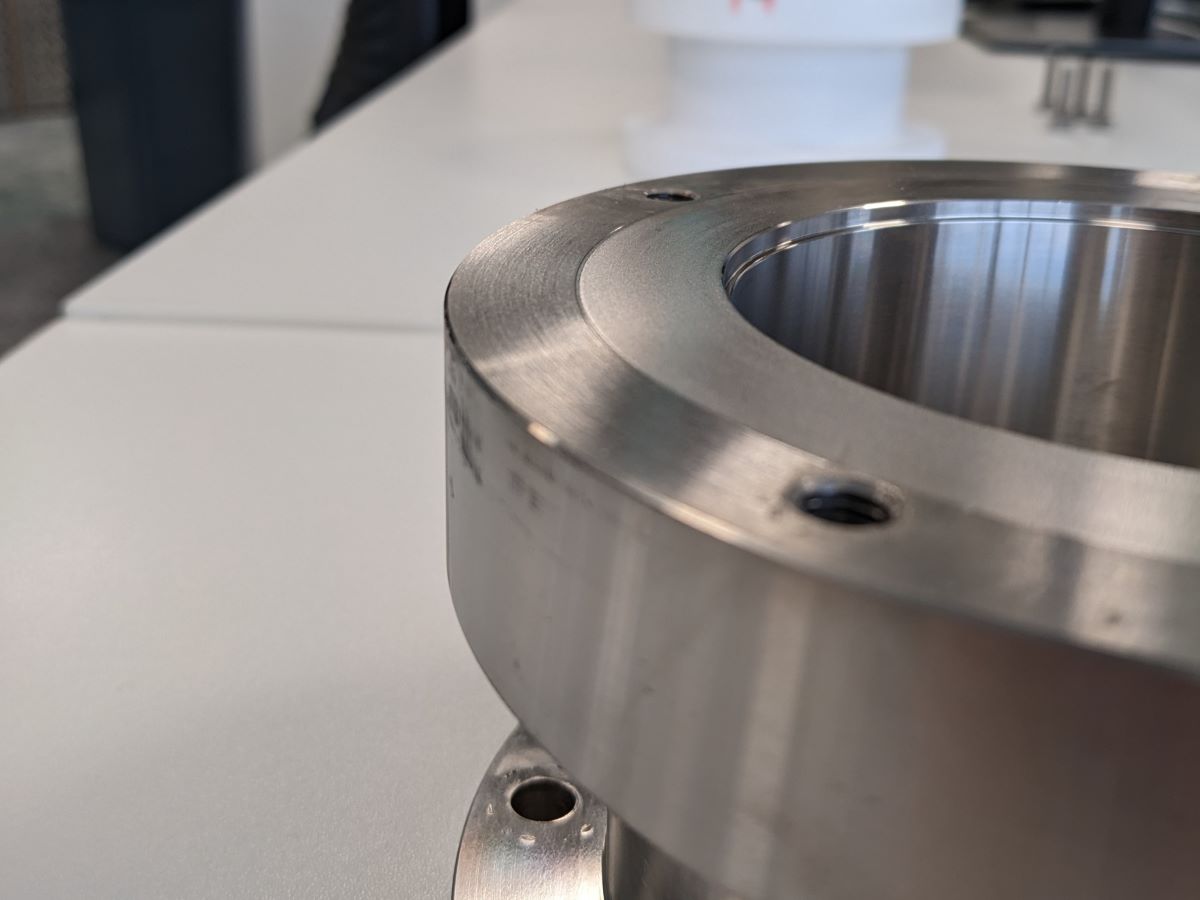
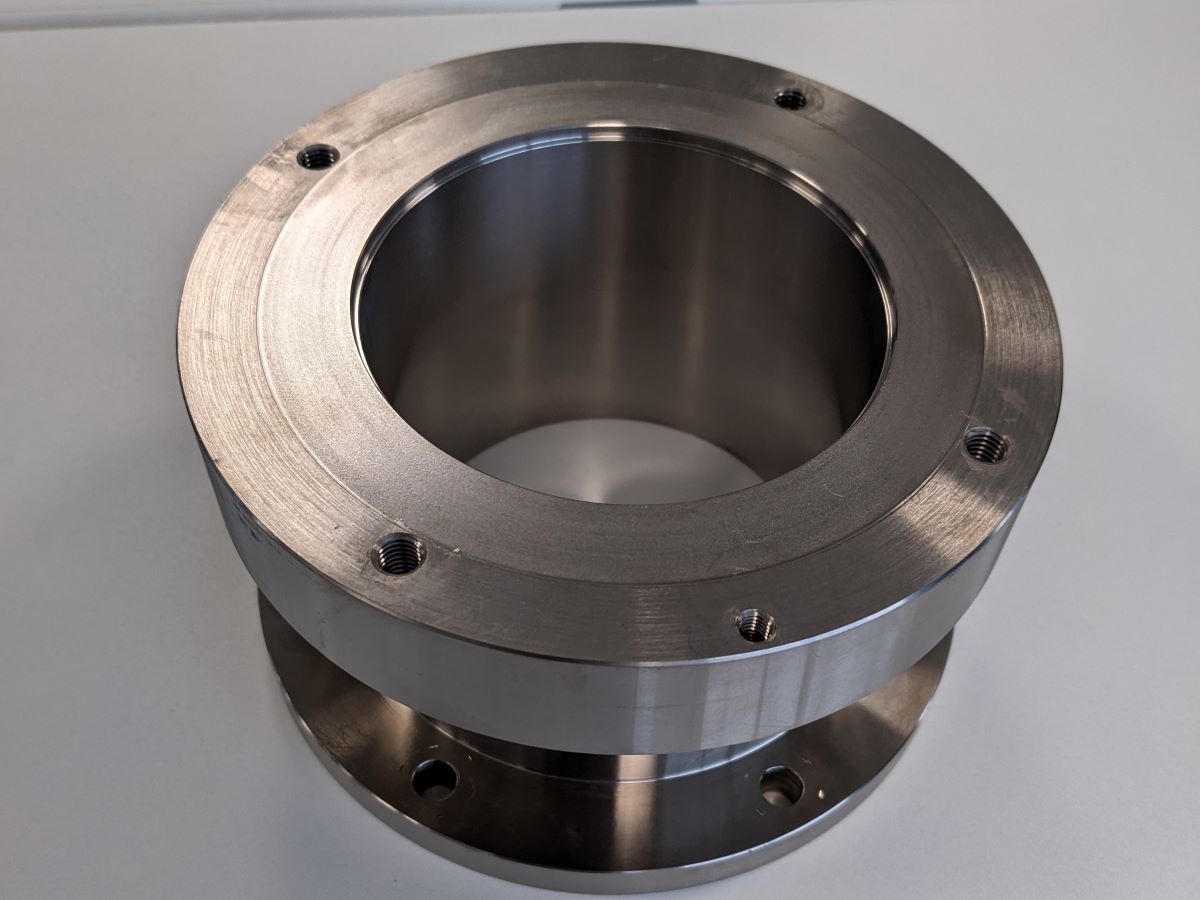
Alternatively, you could add a tapped hole(s) to the sealing surface and wind in a screw(s). That way the screw head makes contact as opposed to the sealing face. This method is especially useful when you need access to the sealing face to be able to re-work it, just remove the screw(s) and you have a flat surface which you can restore by hand. This would be much harder with a recessed sealing face.
